Most output problems come from a mismatch between the document’s shape, the configured paper, and the printer’s expected image direction. EasyLabel Print stores these settings separately for every configured printer, so a correction will continue to apply to later Share-sheet print jobs.
Start with the printable-area test
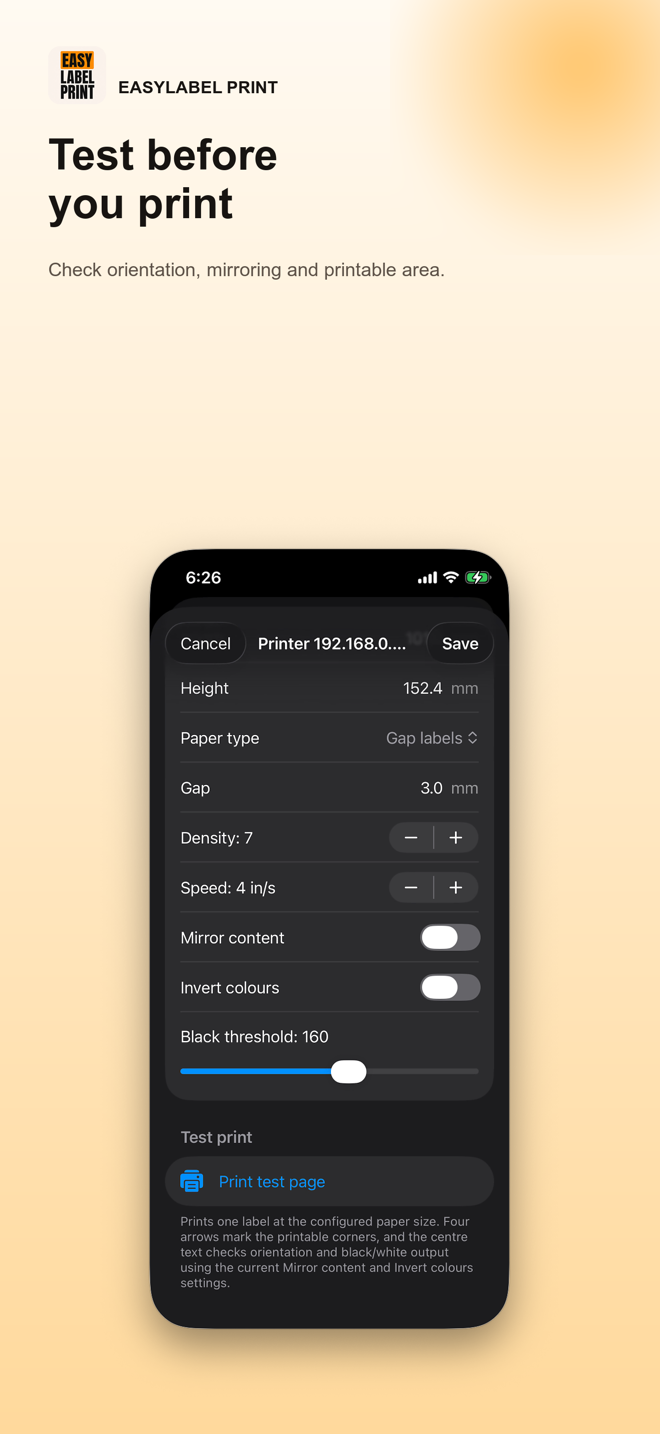
Open the printer configuration, tap Test connection, and wait for Connection verified. Then use Print test page. Four arrows point toward the configured label corners from a safe inset, with black text in the centre. All four targets should land on the adhesive label—not in the carrier gap. The page reveals incorrect orientation, mirroring, colour inversion, scaling, and missing edges without using one of the app’s counted Share prints.
Match the symptom to the setting
Use Fit to Document to preserve the full page, or Fill Label (may crop) when edge-to-edge coverage matters more.
Choose Fit to Document, verify the paper width and height, and turn on auto-rotate.
Turn on Auto-rotate to use the label, or swap the saved paper width and height if the physical roll is configured incorrectly.
Refresh printer settings in EasyLabel Print. If it remains backwards, the exact model's Mirror correction must be toggled in the website catalogue by the printer-profile administrator.
Refresh printer settings in EasyLabel Print. If the polarity remains wrong, the exact model's Invert correction must be toggled in the website catalogue by the printer-profile administrator.
Print the test page and confirm all four inset targets land on the label. Then check paper size, media calibration, and physical alignment.
Choose Fit to Document or Fill Label
Fit to Document scales the complete PDF page or image inside the label. It avoids cropping and is the safest setting for shipping labels whose barcode, tracking number, or address must remain visible.
Fill Label (may crop) enlarges the document until the label is covered. This removes empty borders but can cut content from two sides when the document and paper have different proportions. Use it for photos or artwork where edge-to-edge coverage is intentional.
Confirm paper size and resolution
For a 4 × 6 inch label, the exact metric dimensions are 101.6 × 152.4 mm. A 100 × 150 mm preset is slightly smaller. Both are common, so select the one that matches the roll and document. Also select the printer’s actual resolution: a 203 dpi model and a 300 dpi model need different raster dimensions even when the paper is physically identical.
Check gap, continuous, or black-mark media
A printer can feed too far or start in the wrong position when its media type does not match the loaded roll. Choose gap labels for separated adhesive labels, continuous for uninterrupted stock, or black mark when the reverse side contains registration marks. The gap value controls the feed distance between labels; it is not a four-sided image margin. Set the measured gap and run the printer’s media calibration when alignment changes from one label to the next.
The test page is correct, but a shipping label is not
The printer setup is sound. Re-open the shared document, confirm its page size, and compare Fit to Document with Fill Label. If the source is a web page rather than a PDF or image, download the actual label file before sharing it.
Follow the shipping-label print flow →When to contact support
Send the printer brand and model, connection type, resolution, paper dimensions, protocol, and a clear photo of the physical test page. Those details show whether the problem is paper configuration, media calibration, document scaling, or the printer profile.